

-
Products

-
-
-
After-sale Service
Mingfeng Machinery shares how to adjust the gap of the Roots blower impeller.
Release time:
2022-06-24
(1) Cleaning 1. Disassemble the inlet and outlet pipelines of the Roots blower, remove the acidic sludge and debris inside the Roots blower, and then seal the lower inlet with a blind plate. 2. Disassemble the upper part of the Roots blower and add a 13% Na2CO3 aqueous solution until it does not overflow when the impeller is rotated, and appropriately rotate the Roots blower impeller to neutralize the acidic substances inside the blower. After 10-20 minutes, remove the lower blind plate to release the solution, and then repeat this cleaning method twice. Finally, rinse the inside of the Roots blower with clean water. 3. Timely lift out the impeller, remove the dirt and debris inside the Roots blower, between the two impellers, and inside the labyrinth seal. After cleaning the Roots blower, apply anti-rust oil to the wet areas to prevent rusting. 4. Hang the two impellers into the blower base and tighten the two end bearing boxes with two pressure covers. (2) Measurement Use the adjusting screws to align the two impellers towards the coupling side simultaneously, so that the gap between the end faces of the two impellers and the side face of the coupling reaches normal (approximately 0.4-0.5mm). Rotate the two impellers and check whether the four sets of labyrinth seal components are in the correct position. If not, record the dimensions for appropriate processing or handling when disassembling later. Measure the gap between the protruding parts of the two impellers and the arc surface of the Roots blower base, measure the gap between the protruding parts of the two impellers near each other, and measure the gap between the end faces of the two impellers and the inner vertical surfaces on both sides of the base. Mark and record at each of the above measurement positions. Tighten the cover plate, measure the gap between the protruding parts of the two impellers and the inner arc surface of the cover plate, and measure the gaps between the side faces of the cover plate and the side faces of the two impellers, marking and recording them as well. (3) Repair 1. Inlay protrusions (1) Process 12 protrusions according to the Size. The material depends on the medium contacted during the use of the Roots blower. If it contacts acid, it is recommended to use a certain strength acid-resistant material, such as stainless steel; the following processing materials are the same as this. (2) Mill and drill holes in the dovetail grooves at the four protruding positions of the two impellers according to the Size. (3) Process 36 bolts and 36 matching nuts according to the Size. (4) Inlay every 3 protrusions into the 4 dovetail grooves of the impeller, fastening with the bolts processed in (3). If any part is too tight during installation, it can be ground with a portable grinder. 2. Inlay end faces (1) Drill 12 bolt holes on each of the two impellers near the gear direction according to the Size. (2) Process 4 end face inlays for the two impellers near the gear direction (it is recommended to drill holes after the inlays are installed in the impeller). (3) Process 3 types of fastening inlay bolts, 8 of each type, and purchase or process 24 matching nuts (the nuts are processed according to common standards). (4) Install the inlay strips into the end faces of the two impellers near the gear direction, fastening with the bolts processed in (3).
(1) Cleaning 1. Disassemble the inlet and outlet pipelines of the Roots blower, remove the acidic sludge and debris inside the Roots blower, and then seal the lower inlet with a blind plate. 2. Disassemble the upper part of the Roots blower and add a 13% Na2CO3 aqueous solution until it does not overflow when the impeller is rotated, and appropriately rotate the Roots blower impeller to neutralize the acidic substances inside the blower. After 10 to 20 minutes, disassemble the lower blind plate to release the solution, and then repeat this cleaning method twice. Finally, rinse the inside of the Roots blower with clean water. 3. Timely lift out the impeller, remove the dirt and debris inside the Roots blower, between the two impellers, and inside the labyrinth seal. After cleaning the Roots blower, wipe the wet areas with anti-rust oil to prevent rusting. 4. Hang the two impellers into the blower base and use two pressure covers to tighten the bearing boxes at both ends. (2) Measurement Use the adjusting screws to align both impellers towards the coupling side simultaneously, so that the gap between the end faces of the two impellers and the side face of the coupling reaches normal (approximately 0.4 to 0.5 mm). Rotate both impellers and check whether the four sets of labyrinth seal components are in the correct position. If not, record the dimensions for appropriate processing or handling when disassembling later. Measure the gap between the protruding parts of the two impellers and the arc surface of the Roots blower base, measure the gap between the protruding parts of the two impellers near each other, and measure the gap between the end faces of the two impellers and the inner vertical surfaces on both sides of the base. Mark and record at each of the above measurement positions. Tighten the cover plate, measure the gap between the protruding parts of the two impellers and the inner arc surface of the cover plate, and measure the gaps between the side faces of the cover plate and the side faces of the two impellers, marking and recording them as well.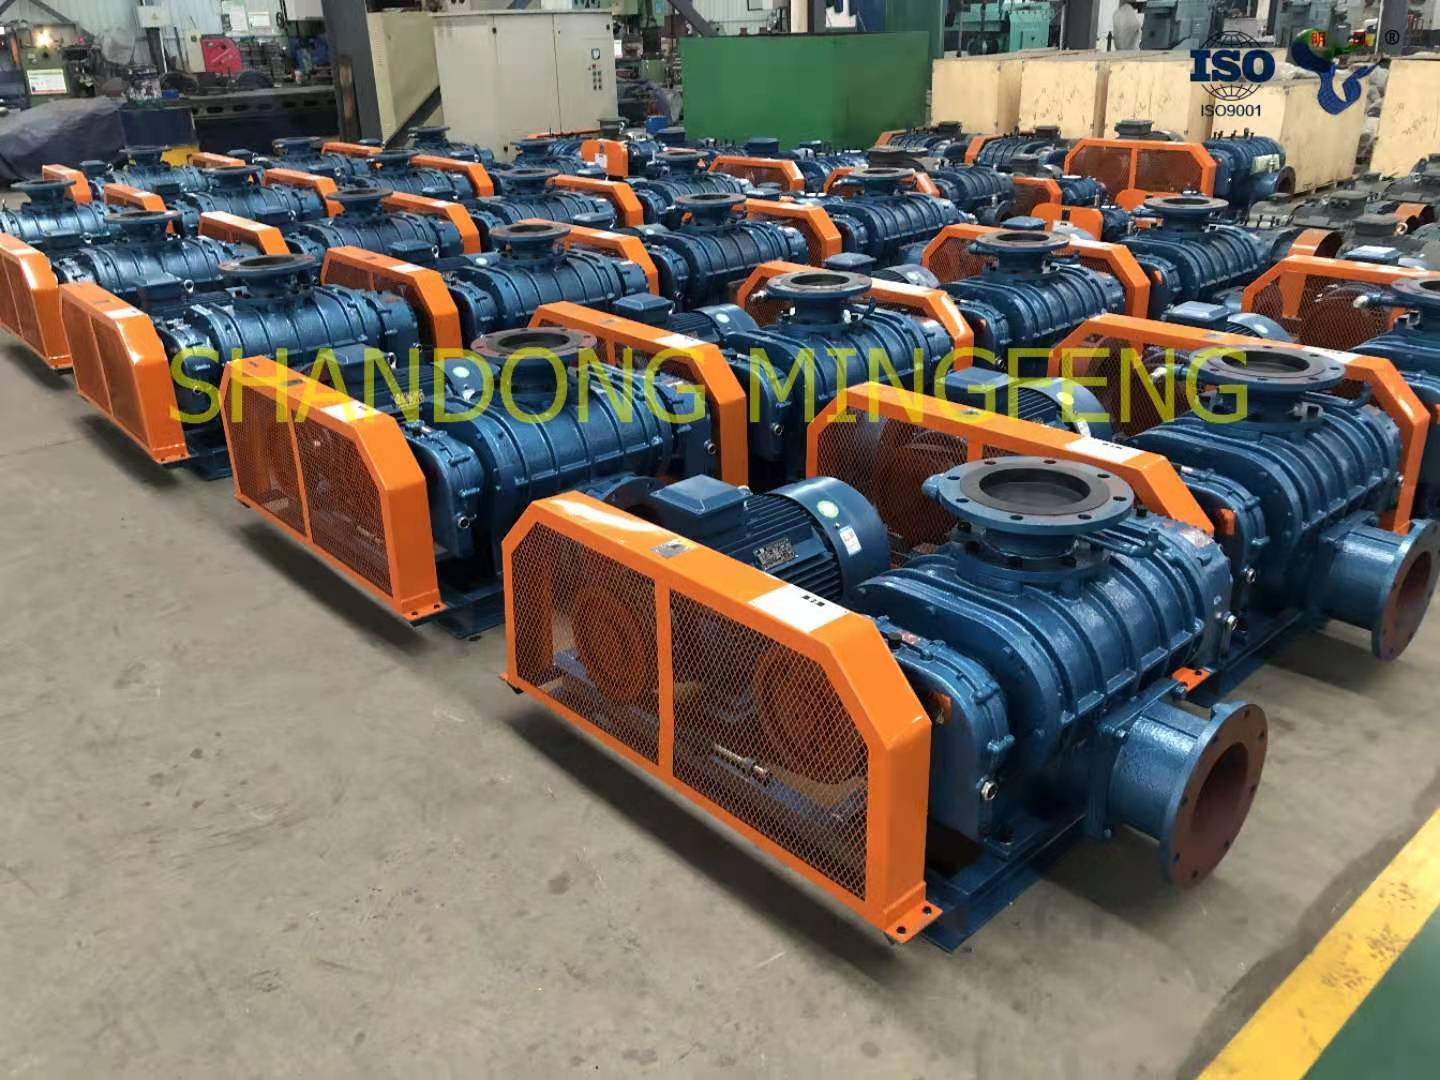 (3) Repair 1. Inlay protruding strips (1) Process 12 protruding strips according to the size. The material depends on the medium that the Roots blower comes into contact with during use. If it comes into contact with acid, it is recommended to use a certain strength acid-resistant material, such as stainless steel; the following processing materials are the same as this. (2) Mill and drill dovetail grooves and holes at the four protruding positions of the two impellers according to the size. (3) Process 36 bolts and 36 matching nuts according to the size. (4) Inlay every 3 protruding strips into the 4 dovetail grooves of the impeller, fastening them with the bolts processed in (3). If any part is too tight during installation, it can be ground with a portable grinder. 2. Inlay end faces (1) Drill 12 bolt holes on the end faces of the two impellers near the gear direction according to the size. (2) Process 4 end face inlays for the two impellers near the gear direction (it is recommended to drill holes after inlaying the inlays into the impeller). (3) Process 3 types of fastening inlay bolts, 8 of each type, and purchase or process 24 matching nuts (the nuts are processed according to common standards). (4) Install the inlay strips into the end faces of the two impellers near the gear direction, fastening them with the bolts processed in (3).
Key words:

Submit information now to obtain the total solution of wind turbine
To provide users with high-quality products and convenient pre-sale, sale and after-sales service, reflecting the "Ming Feng" to make users satisfied with the whole process of service.
No. 1-3, West First Road North, Fenghuangshan Industrial Park, Puji Street, Zhangqiu District, Jinan City, Shandong Province
Free service hotline